

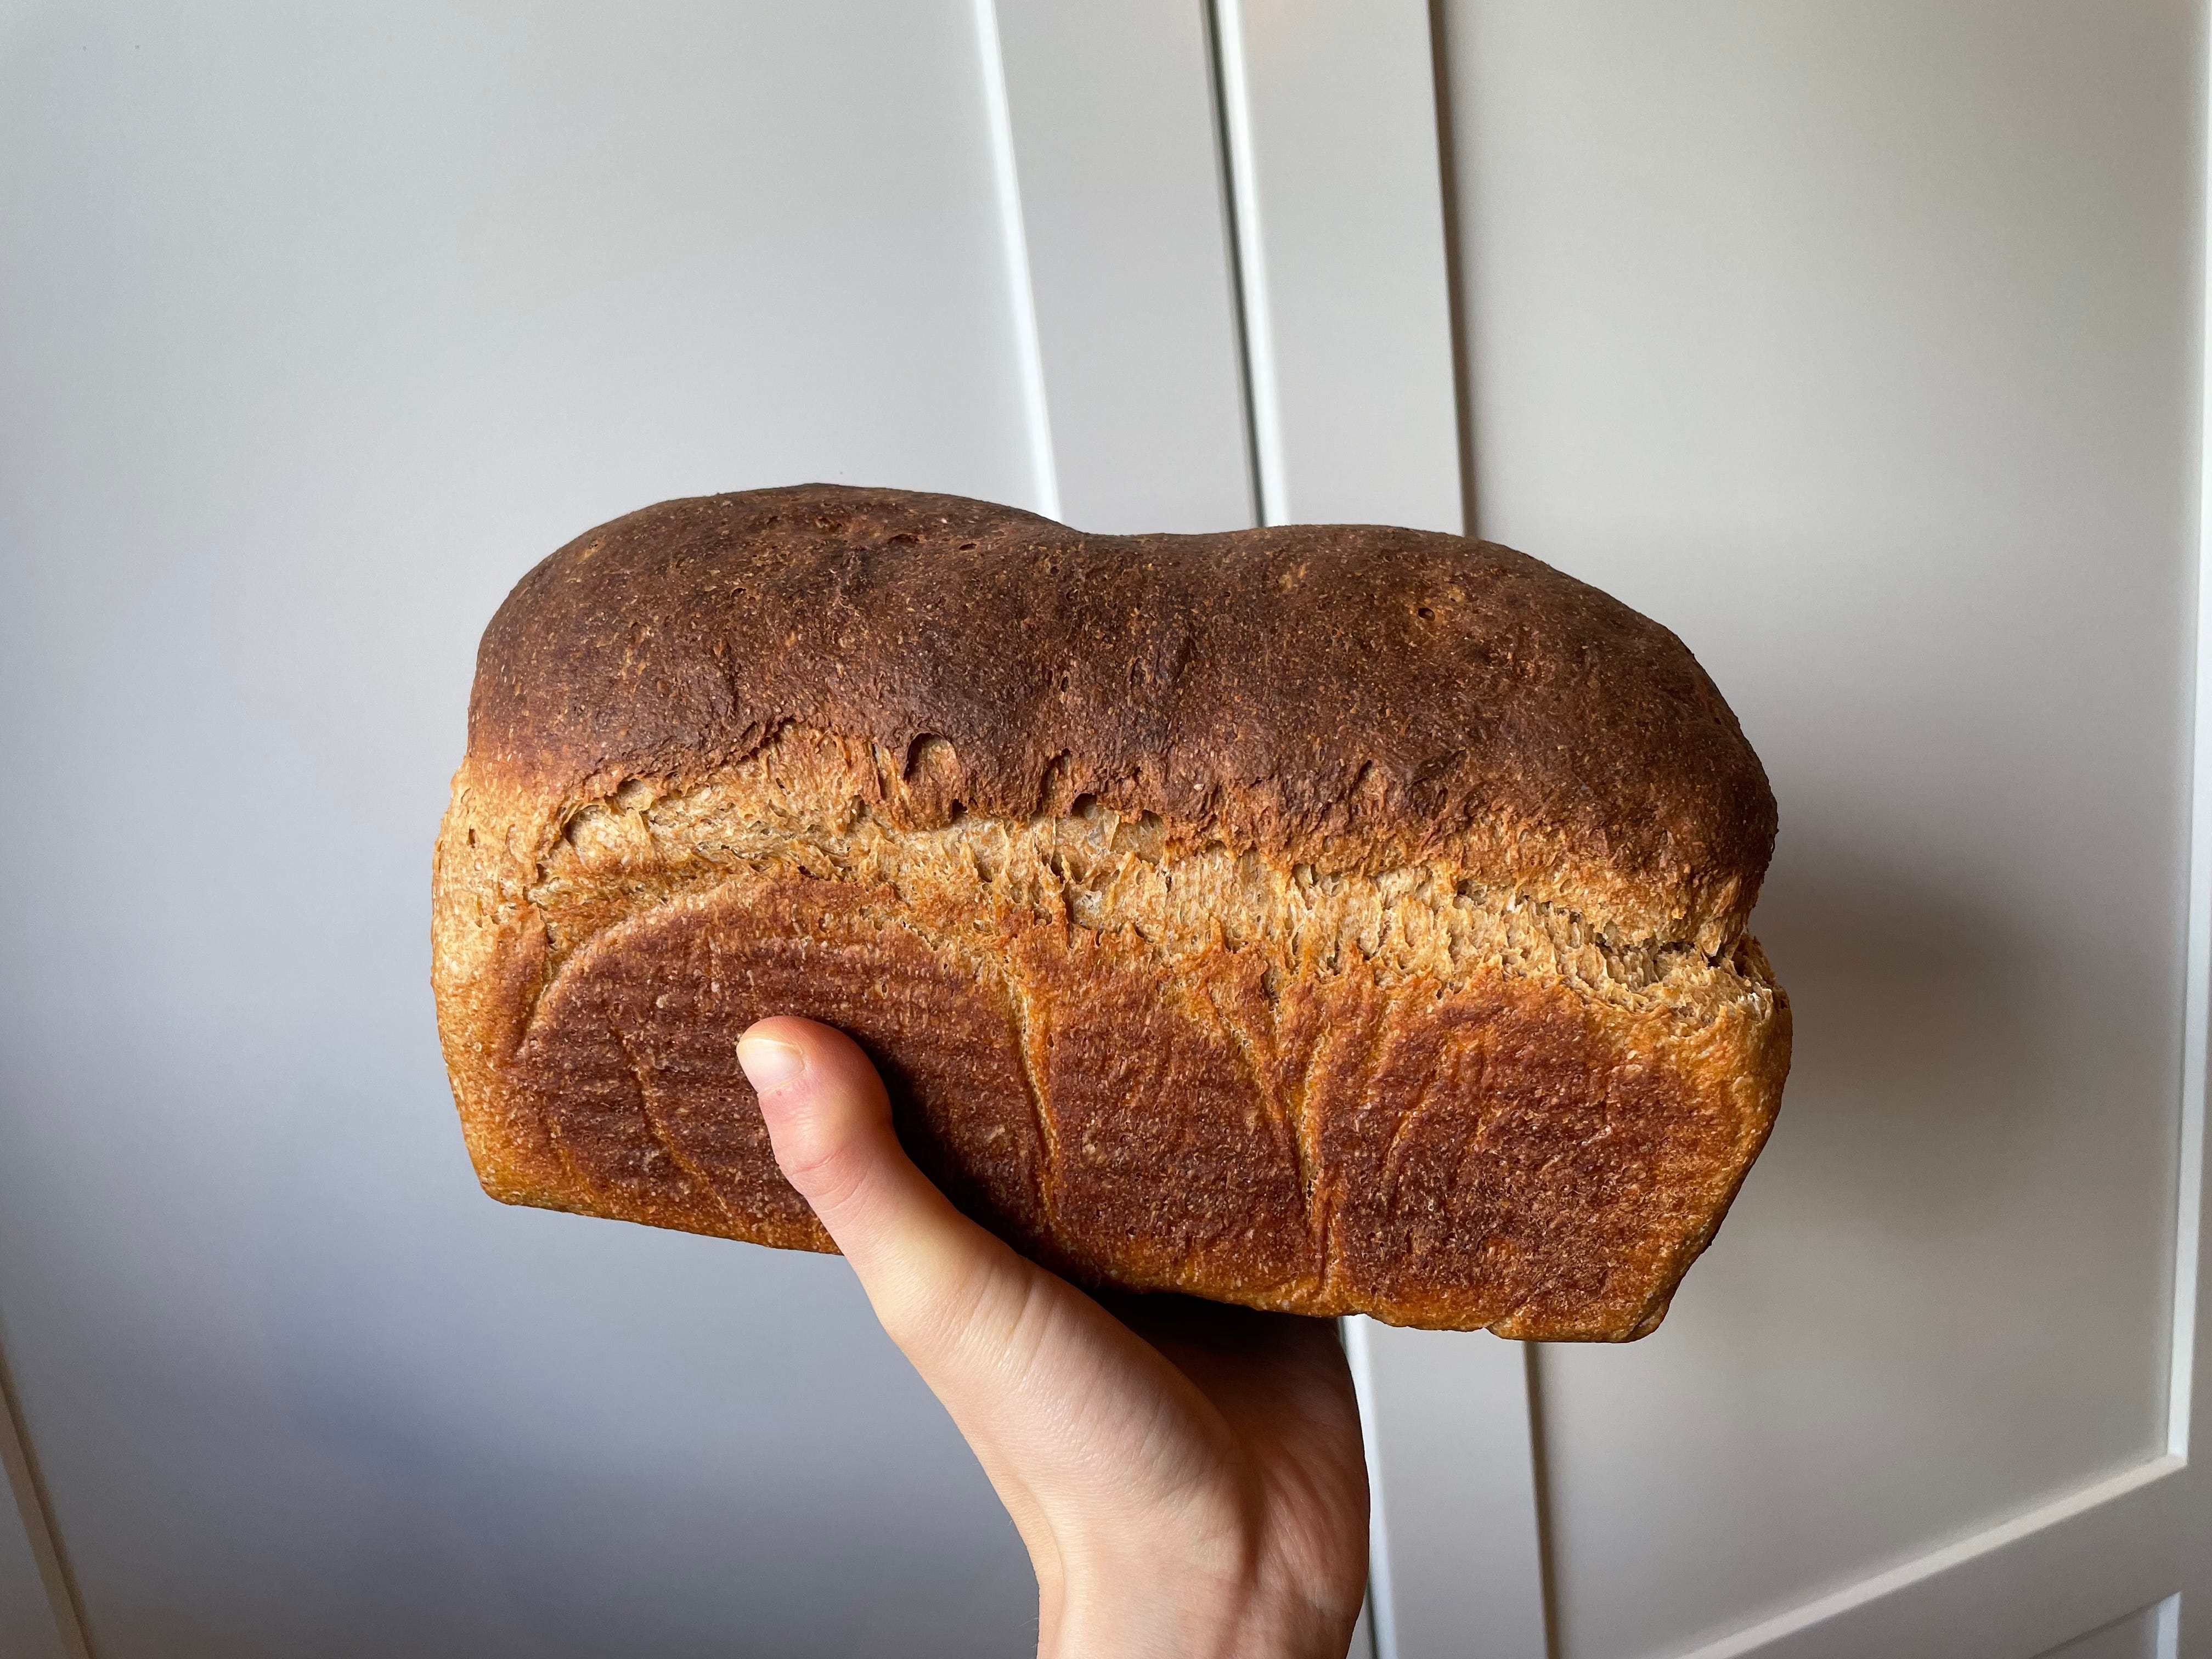
Recipe: Whole wheat lunchbox bread

I’m moving this weekend, which means I’ve been spending every minute packing – and then repacking. I don’t know what other people’s packing habits are, but I live for the Tetris of it all. I find it wildly satisfying to arrange and rearrange items in each box until you land on the perfect placement that leaves no empty space remaining.
I fill every nook and cranny. Inside of my dutch oven are more plates and bowls. The belly of my blender is stuffed with small utensils. My kitchen has become a veritable Russian doll1 nestled into itself.
Because of my obsessive packing, I haven’t had much time to think about something to write – so I’m sharing the recipe for the whole wheat sandwich loaf I wrote about in last week’s issue about my beloved bread journal.

My goal was to create a homemade version of the packaged, pre-sliced whole wheat sandwich loaf. I know by any accomplished baker’s standards, Pepperidge Farm is too processed to be considered “great” bread. But I love that squishy quality, perhaps it’s nostalgia for the peanut butter sandwiches my mother packed every day for my school lunch. (Thanks mom for the lunches and also being a dedicated Mother Sauce reader!)
Recipe: Whole wheat lunchbox bread
Makes one loaf in an 8 x 4-inch pan
Recipe notes and methodology:
Hydration is 75%, if that means anything to you.
I often start the dough with any sourdough discard I have, usually around 50 - 100g. My sourdough starter is 50/50 water to flour ratio so I just do some baker’s math to determine how much additional liquid and flour I need to add.
To achieve that soft texture, I incorporated a bit of potato flour, tinkering with various quantities until I settled on 40g as the ideal amount. Too much and the dough became gummy; too little and you didn’t notice it was there. I use Bob’s Red Mill brand.
I use a mix of bread and whole wheat flours; the bread flour’s higher protein content helps with the gluten structure while the whole wheat makes it, well, a wheat loaf.
I prefer molasses as the sweetener here because it helps the loaf look the part – but using 25g of brown sugar, granulated sugar or honey work as well. Your loaf will just turn out a lighter shade.
I decided to incorporate baker’s dry milk and water as my liquid instead of whole milk after reading a tip from King Arthur Baking about how it helps the dough rise. It’s also easier to keep on hand in the pantry since I don’t typically have fresh whole milk in the fridge.
Another King Arthur product I include is diastatic malt powder, which helps your loaves rise and brown. Add the *tiniest pinch*. My first go-around using the powder I added a ¼ teaspoon and my loaf nearly tripled in size and was full of air pockets. You can omit this ingredient if you don’t have it. It won’t change the taste; think of it more like a sort of performance-enhancing drug for your dough.
INGREDIENTS
375g warm water
25g molasses
300g bread flour
160g whole wheat flour
40g potato flour
28g baker’s dry milk
25g canola or vegetable oil
10g kosher salt
Pinch of diastatic malt powder
STEPS
In the bowl of a stand mixer, whisk together warm water, yeast and molasses.
Add flours, baker’s dry milk, oil and salt. Mix on the “stir” or lowest speed setting until all of the ingredients combine. Scrape down the sides to make sure everything is incorporated.
Turn the speed up (medium to medium-high) and knead the dough until it is supple and smooth and passes the windowpane test. It will be a bit sticky from the potato flour. I usually mix for about 5 minutes and then keep checking every minute to see if the gluten is developed enough. It can take up to 10 minutes depending on the mixer speed. The dough should have formed itself into a ball; if it’s sticking to the sides of the bowl and doesn’t come together on its own, it likely needs more kneading.
Use a plastic scraper to move your dough to a greased bowl or proofing container and cover it with plastic wrap or a damp towel until it has doubled in size. It usually takes about an hour to an hour and a half, depending on the temperature. If it still hasn’t doubled after this point, try moving it to a warmer location or use your oven as a makeshift proofing drawer by turning JUST the oven light on and sticking your dough in its container inside.
Once your dough has risen, it’s time to shape for the second proof. Move it onto a lightly floured surface and shape it into a log.
Place your loaf into a lightly greased loaf pan (mine is 8” x 4”). I also like to add a layer of parchment paper for easy removal. Gently cover with plastic wrap and let it rise again, until it has crested about an inch over the pan edge. It should take about 45 minutes to another hour for the second rise.
About 30 minutes before loaf is ready to bake, preheat oven to 400℉.
Bake loaf for 20 minutes at 400℉, then decrease oven temperature to 350℉. Bake for another 10-15 minutes or until inside of loaf reaches 190℉.
Take your loaf out of the oven and let it cool in the pan for about 15 minutes, then remove from the pan and place it on a rack to cool.
Is it still okay to use this term right now?